
Please see if the field names and interface from this guide correspond to your router's, if not please go to the "Setup" page in Members Area and click on another Asus guide.
Due to multiple existing versions of Asus router, the management interface may not look exactly the same, but as long as the setting's field names correspond the guide should work fine.
VPN Setup for Asus Router
Step 1
Go to your router's administration page, usually you can do that by visiting: http://192.168.1.1 or http://192.168.0.1.
Default username: root (or admin), default password: admin
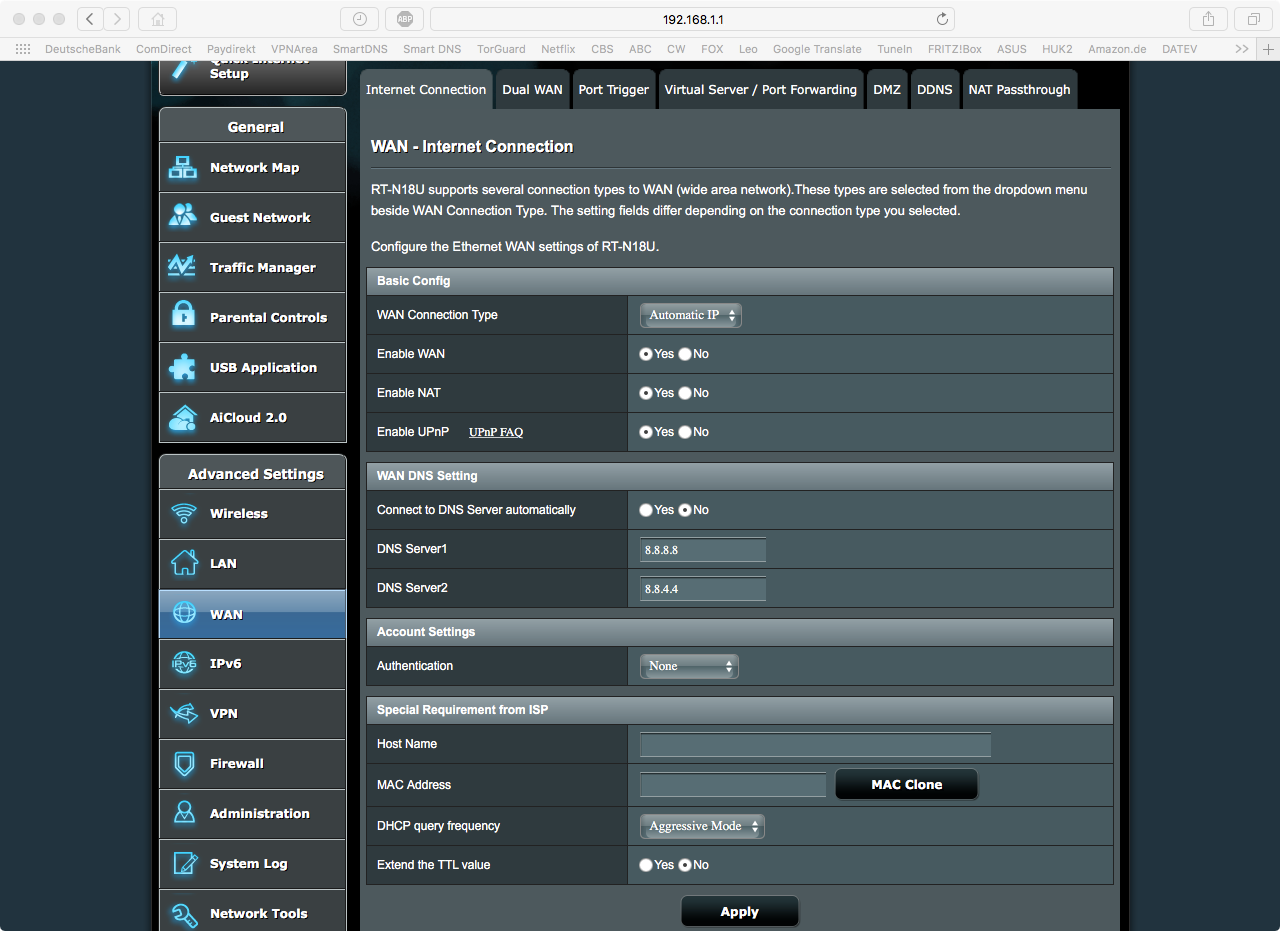
Click "WAN"from the Menu on the left -> "Internet Connection" tab.
Scroll down to DNS Server 1 & 2
Change the settings so that they look like the screenshot:
DNS Server 1: 1.1.1.1
DNS Server 2: 1.0.0.1
Change "Connect to DNS server automatically" to "no".
Step 2
Go to "VPN" -> "OpenVPN Client" tab.
Make sure your settings correspond to the screenshot below:
Set "Interface Type" to TUN (Leave OpenVPN Daemon to Disabled)
Protocol: UDP
Server Address: 143.198.115.236
Please go to our Servers Status page and copy the corresponding IP address from there in the above field.
Set port to: 8292 (alternative options are: 443, 53, 1194, 111, 123)
Set Firewall to Automatic.
Authorization mode: TLS
Set the Username/Password Auth. to Yes.
Enter your Username and Password in the appropriate boxes.
Username/Password Auth Only. set to "No"
Extra HMAC auth set to "Disabled"
Set the Auth Digest to SHA256
Create NAT on tunnel - Yes
Set the Accept DNS Configuration to Disabled
Set the TLS Cipher to None.
Set the Verify Server Certificate to No.
Set the Tunnel UDP Fragment to empty.
Set the Redirect Internet Traffic to "ALL".
In "Custom Configuration" put the following text :
tls-exit
remote-cert-tls server
float
mtu-disc yes
redirect-gateway def1 bypass-dhcp
auth SHA256

Step 3
Go to the downloaded file on your computer and Right-click on it -> Open With -> select Notepad (or TextEdit if on Mac) as program to open the file
Copy all the contents of the newly opened file, from top to bottom.
Paste the copied contents into the "Certificate Authority"
Click "Apply Settings/Save" and Activate the VPN.


