
UPDATE: Our VPNArea 2.0 App for Mac suppors Ad Blocking natively and you can enable it from "Settings" by switching ON the "Ad Blocking & Malware Prevent" setting. The guide below is valid for the older 1.0.8 verison.
We will setup an ad block by using VPNArea's no logs DNS servers. Behind the scenes our DNS servers will block all known ads URLs resulting in an ad-free experience on your Mac.
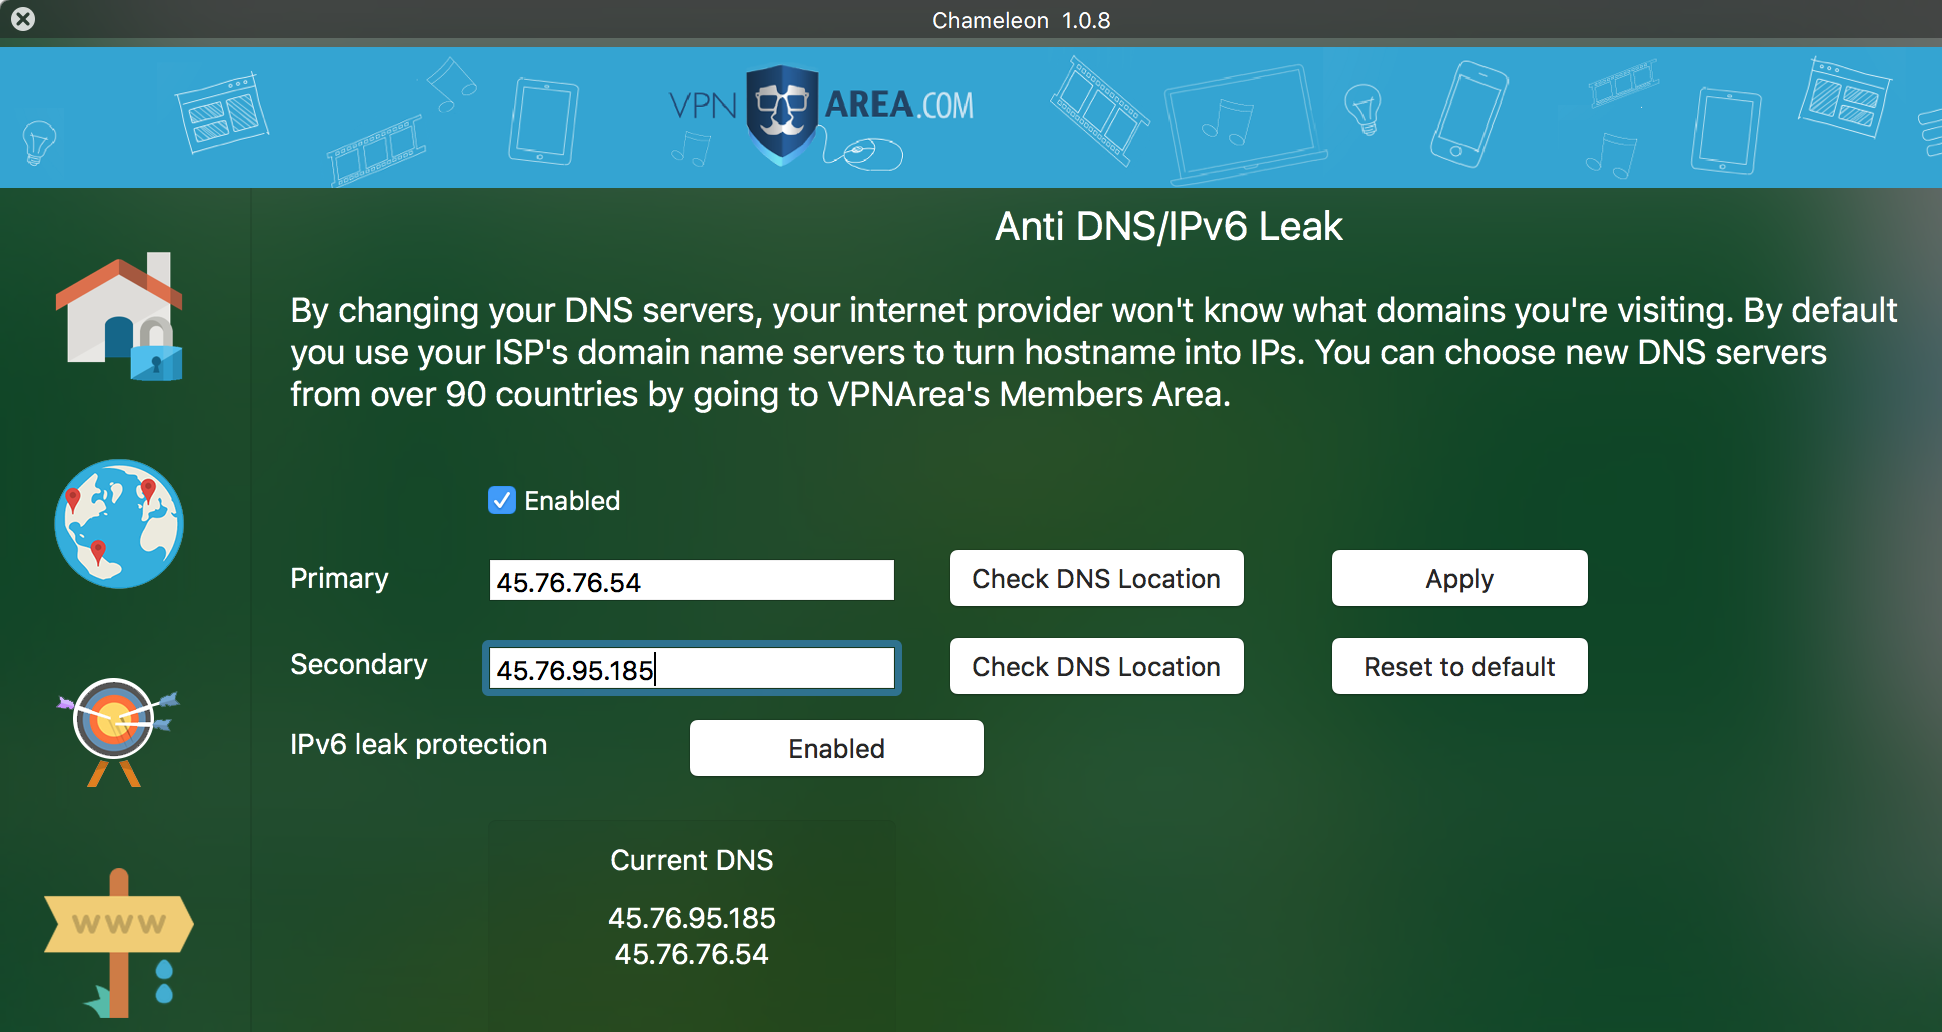
How To Setup Ad Blocking on a Mac
Step 1
Start the VPNArea App (our Mac app).
Step 2
Now click on Anti DNS Leak, that is the button with the "www" sign and the little drops of water (4th button on the left).
Step 3
Enter 45.76.76.54 and 45.76.95.185 in the "Primary" and "Secondary" boxes. Then Click Apply and Enable.
Well done
That's it, now ads will be blocked from now on. It may take a few minutes before all ads disappear as some of their IP addresses are already loaded in your computers DNS cache.
We will soon provide for an easier enabling/disabling of the ads via special button in the apps. Meanwhile if you wish to enable ads just remove the DNS servers you've entered in this step